Hello, Gorgeouses!
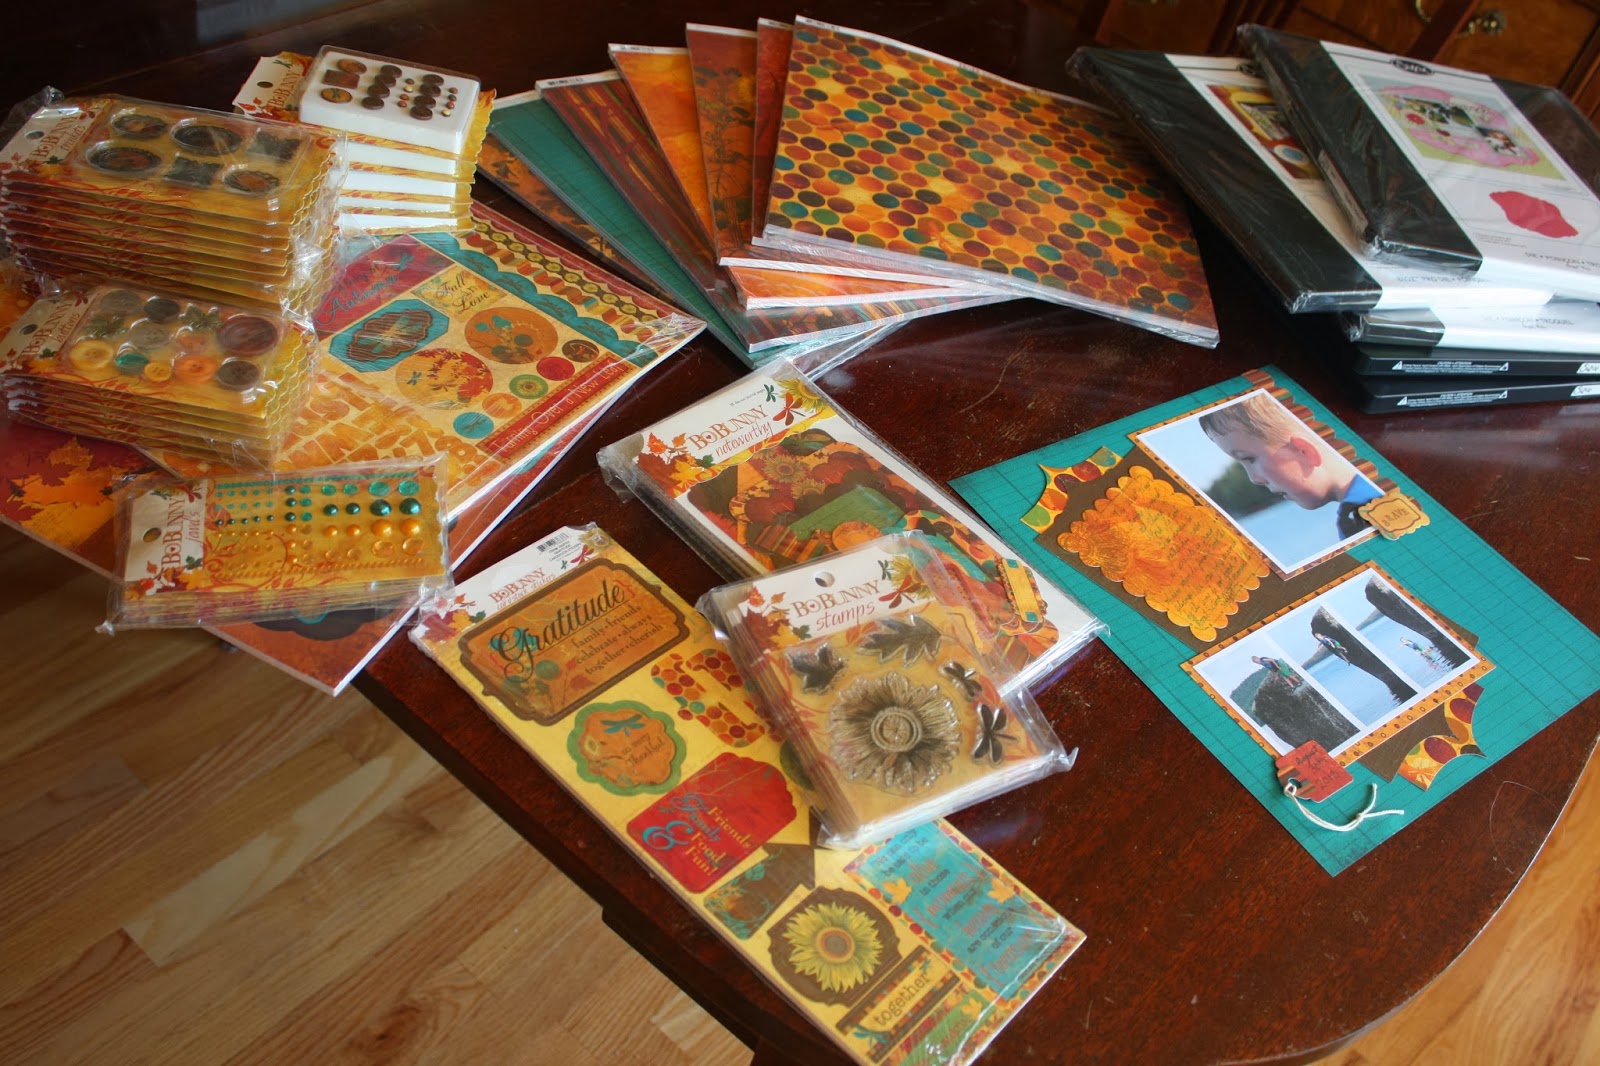
I'm preparing three incredible layouts for the "Cre8te and Take" at York Street Baptist Church's monthly scrapbooking. I'm using the Sizzix Big Shot Pro full-page layout die in {NEW} ways with the luscious "Forever Fall" collection by BoBunny and highlighted with "Memento" and "Brilliance" inks by Imagine Crafs / Tsukineko. Find all the details of the event HERE and the first layout kit option HERE and the final layout option can be found HERE ~
For this "Fair Season" layout, you will need FOUR 2.25" x 3.5" and ONE 3.5" x 5.25" photos:


Die cut "Forever Fall Blaze" from Sizzix Bigz Pro die "Heart, Scallop"

This video quickly covers the details using the "Heart, Scallop" die, which is outlined step-by-step, below ~
Count over 9 scallops from the top middle edge of the heart, on both sides.

Create a crease at the mid-point across each of the 9th scallops.

Create a crease after the second scallop at the top to the third scallop at the bottom. Repeat on opposite side.

Turn the heart upside down.

Fold and crease both sides.


Open the heart, fold and crease the top to the bottom, open flat and cut along the crease lines to meet the horizontal crease & fold up middle section as shown.

Keeping the middle section folded up, bring the sides back together.

Flip the entire project over. Leaving a small space, crease across the bottom of the fold.

Fold the bottom up and over.

Leaving 5 scallops, leave a tab as you cut across the bottom.

Glue down the tab, reserving the two scalloped pieces.

Flip the pocket right-side up. Pick your choice of "Forever Fall Buttons."

Add a dab of glue and roll the end of a string between your fingers, in order to make threading the button easier.

Glue the button to the top flap, and add a dab of glue beneath the flap.

Press and hold.

Cut two 4" x 12" pieces of "Turquoise Journal."

Take the two reserved pieces from the pocket, score across the very bottom of the scallops.

Cut along the score line.

Fold the "Turquoise Jounal" strip in half and glue one side to the scallop section as shown, centering on the middle scallop.


Add "bling" of choice from "Forever Fall Jewels."

Add embellishment of choice from "Forever Fall Noteworthy" across the bottom of the front of the pocket (I used half of the sunflower strip).

Flip over pocket and trim off the edges.

Lay the pocket and journaling box in place on your "Forever Fall Sunflower" page and mark the corner where they intersect.

Attach the "Forever Fall Stamps" to a clear block and load & stamp separate images with Imagine Crafts / Tsukineko's "Brilliance" and "Memento" inks.

Stamp the multiple images using the mark as an indicator of where you need placement.

Add the dragonfly "Forever Fall Stamp" to the stamp block, load with "Memento" ink and stamp image flying toward the sunflower.

Set up layout and add a dragonfly trail to the page.

Reinforce the back of the journaling box by gluing on smaller piece of card stock to the back.

Die-cut "Forever Fall Impressions" from Sizzix's Bigz "Artist Trading Card" die.

Layer your choice of "Forever Fall Sticker Combo" with the Artist Trading Card die-cut onto the front of one of the sleeves.

Cut two 5.5" x 3.75" mounts from "Forever Fall Impressions," add two 2.25" x 3.5" pictures to each. Mount inside each sleeve.

Mount the large 3.5" x 5.25" photo to the front of the last sleeve.

Add mounting pads to the back of the journaling block, save the corner that will rest over the pocket, which should just need adhesive.

Align and mount the pocket and journaling block to the layout, just covering the markings on the layout.

With a bit of folding and cutting, you can change this scalloped heart die-cut layout:

To this {NEW} pocketed interpretation!

Be sure to register in advance to join us THIS friday for this free "Cre8te and Take" at York Street Baptist Church. We'd love to welcome you!

** Find all the details of the event this Friday, October 18th, 2013, at York Street Baptist Church HERE and the first layout kit option "Brave," featuring BoBunny's "Forever Fall" collection, HERE ~
Happy Day, Laurel
Laurel Lee Pollard, Online Publisher, Promoter
New England Paper Crafts
"Ensuring the inspiring world of paper crafts continues to bloom."
"Ensuring the inspiring world of paper crafts continues to bloom."
Let's connect! Find me at: